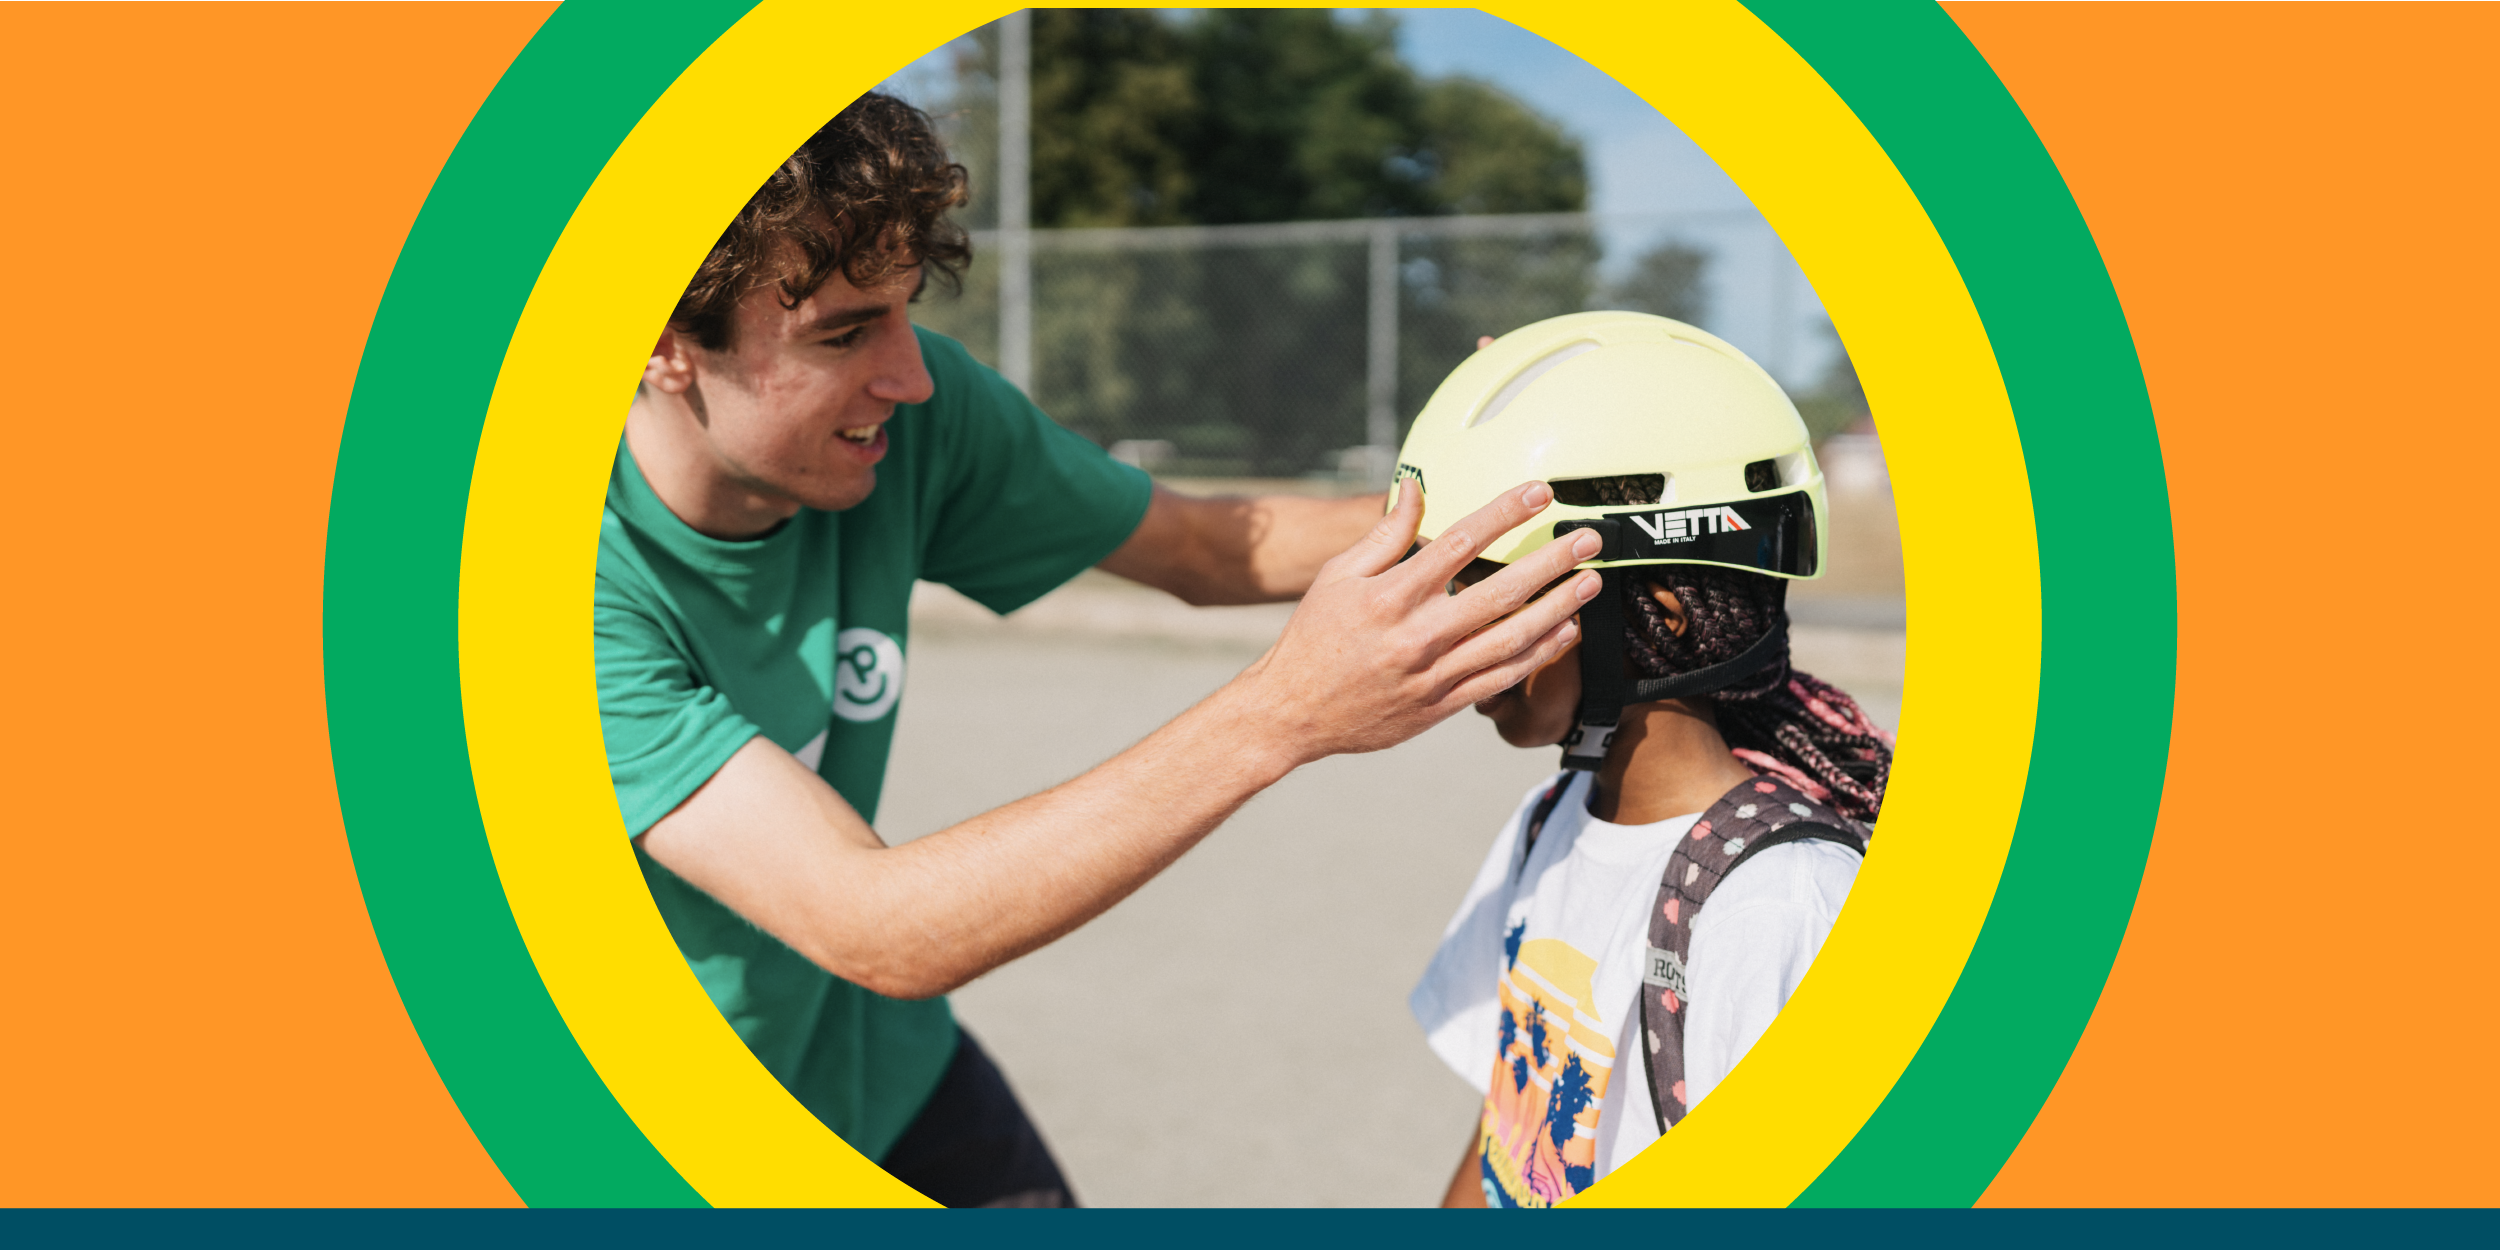
I was a cautious child growing up. Like many of our campers, I was hesitant to try new things at first. I went on to become a Pedalheads bike instructor and it was there that I learned two big lessons when I taught children how to ride on their own for the first time:
- Achieving a ‘first’ builds confidence
- Building confidence requires supportive environments that prioritize safety
So, how can we teach kids to be equally careful and confident when it comes to bike safety?
Why wear a bike helmet when cycling
Head injuries are the leading cause of fatal bike accidents, yet a staggering 97 percent of those involved in fatal accidents were not wearing helmets. And it's not just high-speed crashes that lead to serious injuries. Even a minor incident, like falling while casually riding around a cul-de-sac, can cause considerable harm.
Wearing a helmet can reduce the risk of serious injury by 70 percent. But it’s equally important to give your child the best defense on two wheels by ensuring their helmet fits properly. At Pedalheads, we teach all campers four essential helmet safety rules to give them the tools to embrace life’s adventure head (and helmet)-on.
The 4 S’s of helmet safety
1. Stickers
You might have noticed the stickers inside your child’s helmet. These stickers are a mark of safety compliance and you should ensure your child’s helmet has a certification sticker before you purchase it. Here are some of the most common helmet safety stickers:
- CPSC Certified: This sticker ensures that the helmet complies with safety standards set by the Consumer Product Safety Commission.
- ASTM F1447: A helmet with this sticker meets the standards set by the American Society for Testing and Materials.
- Snell Memorial Foundation: A Snell sticker signifies that the helmet adheres to the organization's rigorous safety requirements.
2. Straps
Straps are like the seatbelts of a bike helmet. They play a vital role in keeping your kid’s head protected. The right strap fit is essential, so remember these two tips:
- The V-shape: Make sure the straps form a V-shape under your child's ears.
- Two-finger rule: You should be able to fit only two fingers between your child's chin and the straps. Any looser, and the helmet won't provide the necessary protection.

Caption: Pedalheads instructor checking that the strap forms a V shape under camper’s ear
3. Straight
Your child's helmet should sit squarely on their head. Here are some no-nos to watch out for:
- Helmet too far back: If the helmet is pushed too far back, the entire forehead is exposed.
- Crooked helmet: A helmet that's tilted to the side leaves the side of the head vulnerable.
The "two-finger rule" is your quick check to ensure the helmet is positioned correctly. You should only have room for about two fingers between your child's eyebrows and the helmet.

Caption: This Pedalheads camper is ready for high-fives and happy dancing with a helmet that is positioned properly using the two-finger rule
4. Snug
An ill-fitting helmet can defeat its purpose. To ensure it's snug:
- Shake test: Gently shake your child's head. If the helmet wobbles, it's not snug enough.
- Nod test: Have your child nod their head. If the helmet doesn't stay in place, it needs:
Many helmets have a wheel at the back—known as a retention system—that you can turn to tighten or loosen the helmet for a perfect fit.

Caption: Pedalheads camper wearing a helmet with a retention system to ensure it fits snug.
That’s it! Make it a habit to regularly check your child’s helmet and ensure it’s a proper fit. By prioritizing safety, your little one can grow into a confident and safe, lifelong cyclist.

Comments